The Interior Design Blog
Creating Custom Throw Pillows to Match Your Decor
It is gratifying to be able to create a space that is a reflection of who you are. One obvious way to customise your look is with textiles. Throw pillows are a canvas for your creativity. Chic throw pillows are an easy and low-cost way to elevate your decor. There is a range to pick from, including minimal Scandi, bright boho prints, and classic designs. They’re accessible, too, for novices to create with a handful of tools and a good deal of creativity.
This guide will show you how to create DIY throw pillows. We’ll cover fabric selection, cushion design, sewing techniques, closures, and styling tips. No matter your skill level, you’ll find inspiration and practical advice to help you start.
Why Make Your Throw Pillows?
Making your custom cushion covers is not just a fun project; it’s a smart way to personalise your space.
Creative Expression
Designing your throw pillows gives you complete control over colour, texture, pattern, and shape. Want a forest green velvet cushion for your vintage rug? Or geometric print cushions to brighten up a neutral sofa? The options are endless.
Cost-Effective Home Styling
Store-bought cushions, especially designer ones, can be pricey. Making your own throw pillows allows you to achieve a high-end look without breaking the bank. You control the material quality and can often use fabric scraps or old textiles, saving even more.
Sustainability
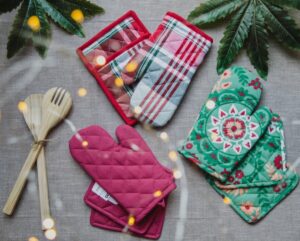
Upcycling old curtains, tablecloths, or clothing into personalised home textiles is eco-friendly. By making your cushions, you reduce waste and limit the impact of mass-produced items.
Choosing the Right Fabric
Factors to Consider
When picking fabric for your throw pillows, think about both looks and function:
- Durability: Important if the cushion will see heavy use (like on a sofa).
- Texture: Velvet, linen, cotton, and boucle all offer different feels.
- Ease of Sewing: Natural fibres like cotton are great for beginners.
- Care Instructions: Choose washable fabrics if your cushions will be used.
Popular Fabric Types
Consider using these fabrics.
- Cotton: Breathable, easy to sew, and widely available.
- Linen: Lightweight and elegant, with a natural texture.
- Velvet: Soft and luxurious but tricky to sew.
- Canvas or Denim: Durable and suitable for a casual look.
- Wool or Boucle: Trendy and adds a cosy texture.
Deciding on Pillow Shapes and Sizes
While square cushions are standard, don’t limit yourself. Using various shapes can make your decor more interesting.
Standard Options:
- Square: Usually 16×16″ or 18×18″—great for sofas and beds.
- Rectangular (Lumbar): Perfect for back support and layering.
- Round: Softens angular furniture.
- Bolster: Long, cylindrical pillows for beds and window seats.
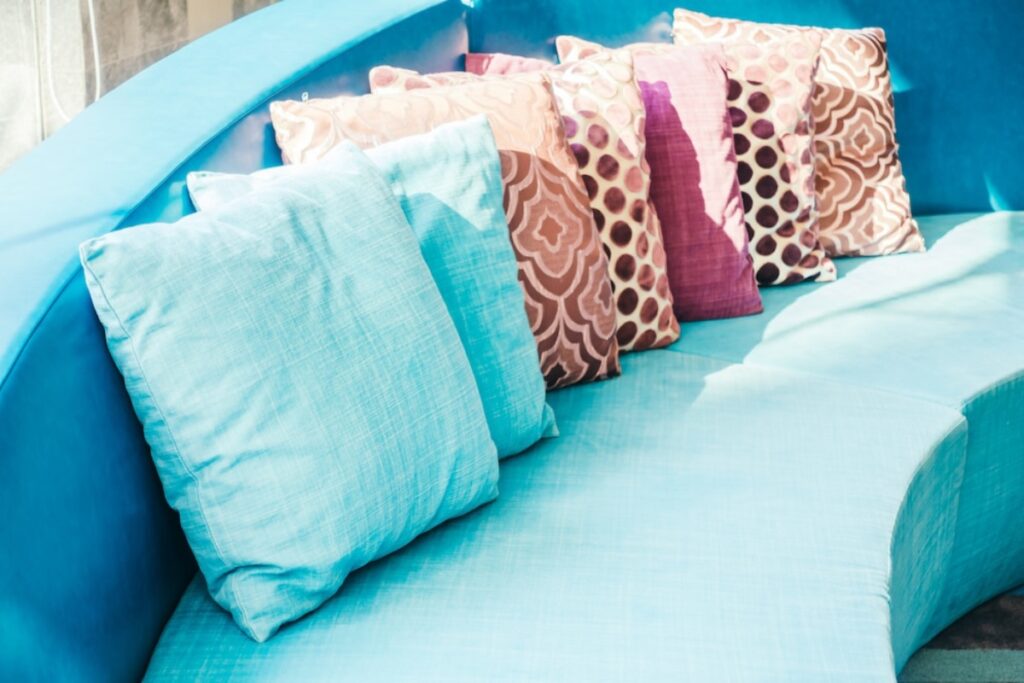
Mix and Match for Style
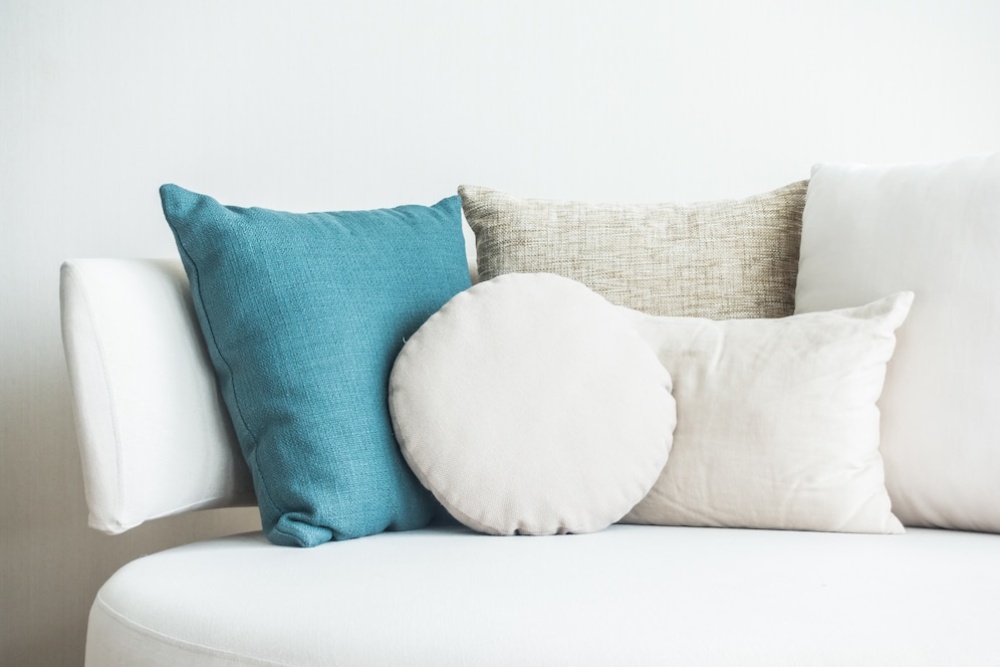
Combining different shapes and sizes adds depth to your arrangement. For a balanced look, try pairing larger square pillows with a lumbar cushion.
How to Make DIY Throw Pillows
Making a throw pillow from scratch is surprisingly simple.
Here’s a step-by-step overview:
Materials You’ll Need:
- Fabric (1–2 yards, depending on the size)
- Measuring tape or ruler
- Fabric scissors
- Sewing machine (or needle and thread for hand sewing)
- Matching thread
- Pins or fabric clips
- Pillow insert or stuffing
- Optional: zipper, buttons, or envelope back for closure
Step 1: Measure and Cut
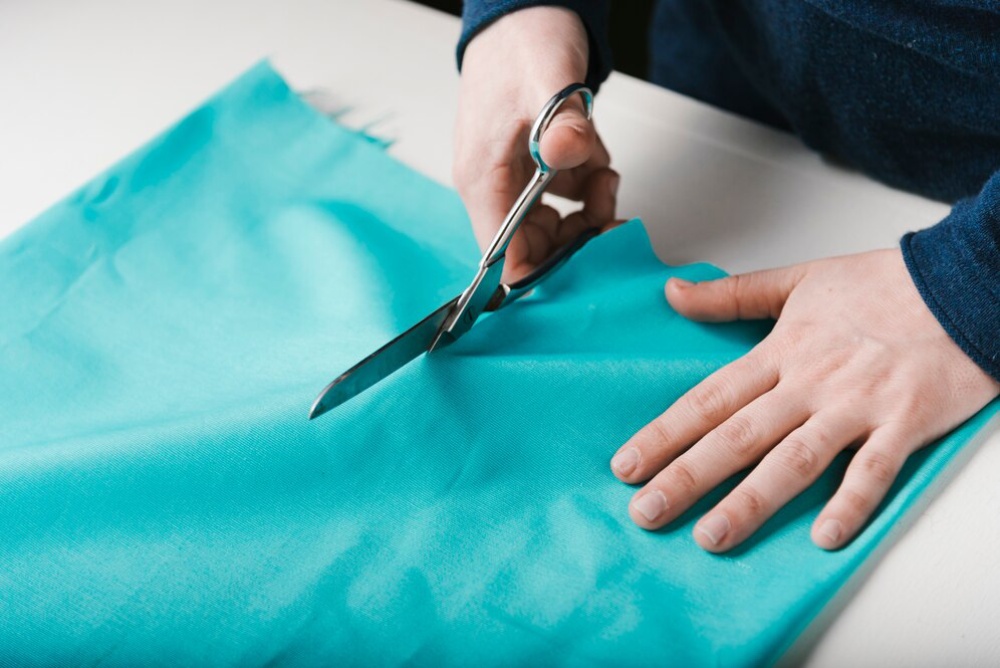
Measure your pillow insert or decide on the finished dimensions. Add 1″ seam allowance to each side. For an 18×18″ cushion, cut two 19×19″ fabric squares.
Step 2: Pin and Sew
Pin the fabric squares on the right sides together. Sew around the edges with a straight stitch, leaving a 4–6″ opening for turning and stuffing.
Step 3: Turn and Press
Turn the cover right side out. Use a pencil or chopstick to poke out the corners. Press with an iron for crisp seams.
Step 4: Insert Cushion and Finish
Insert your pillow form or stuffing. Hand-stitch the opening closed using an invisible ladder stitch or machine-sew if a zipper is added.
Closure Types Explained
Finishing your cushion cover affects the look and ease of use. Here are some standard closure options:
Envelope Closure
- The easiest method—no zippers or buttons needed.
- Great for beginners.
- Offers a clean look and easy removal.
Zipper Closure
- It allows a snug fit and a professional finish.
- Requires a bit more sewing skill.
- It’s ideal if you want to switch covers often.
Button Closure
- It adds a decorative touch.
- Functional and stylish.
- It can be tricky for precise placement.
Adding Decorative Elements
One joy of custom cushion covers is adding your flair. Here are popular ways to embellish:
Piping or Trim
Sewing piping around the edges adds contrast or texture. Pom-pom trims or tassels can give a playful or boho vibe.
Appliqué and Embroidery
Add unique motifs, monograms, or quotes with appliqué or hand embroidery. These make thoughtful gifts and one-of-a-kind designs.
Fabric Paint or Block Printing
Unleash your inner artist! Use fabric paint to stencil geometric shapes or handprint abstract designs.
Styling Tips for Custom Throw Pillows
Once you’ve made your pillows, display them like a pro:
- Mix Textures: Combine velvet, linen, and cotton for contrast.
- Play with Scale: Layer large, medium, and small cushions.
- Use Odd Numbers: Odd-numbered groupings are more visually appealing.
- Theme Your Colour Palette: Stick to a cohesive palette that complements your decor.
A well-styled sofa or bed can make even simple DIY pillows shine.
Resolving Common Doubts About DIY Throw Pillows
How much fabric do I need for a standard pillow?
For an 18×18″ pillow, you’ll need about half a yard (0.5 metres) per side. Buy a bit more to allow for mistakes and shrinkage.
Can I make a cushion cover without a sewing machine?
You can hand sew using a backstitch or no-sew method like fabric glue or iron-on hem tape. However, machine stitching is more durable and can be used frequently.
What stuffing is best for DIY pillows?
Use polyester fiberfill for a soft feel or foam inserts for a firmer cushion. Feather inserts offer a luxury look but may require tightly woven fabric.
How do I wash homemade cushion covers?
Always pre-wash your fabric to avoid shrinkage for finished covers, machine or hand wash based on fabric type, and air dry or tumble dry low.
Comfort and Creativity, Hand in Hand
Creating throw pillows allows you to bring comfort, style and personality to your space. You can even sew your cushion covers to custom-fit your decor. Get a few tools, pick up some fabric, and let your imagination run wild.
Your handmade pieces will reflect your style, whether you brighten a neutral sofa with vibrancy or build up textures in a cosy nook. And there’s a pleasure in making something you made a centrepiece in your house.
So, pick up that fabric, thread the needle, and bring your DIY dreams to life. Your sofa (and guests) will appreciate it.
Ready to get sewing? Begin your DIY cushion adventure now! Make custom home textiles that you’ll cherish for years!


YOU MAY LIKE