The Interior Design Blog
DIY Pendant Lights to Illuminate Your Space
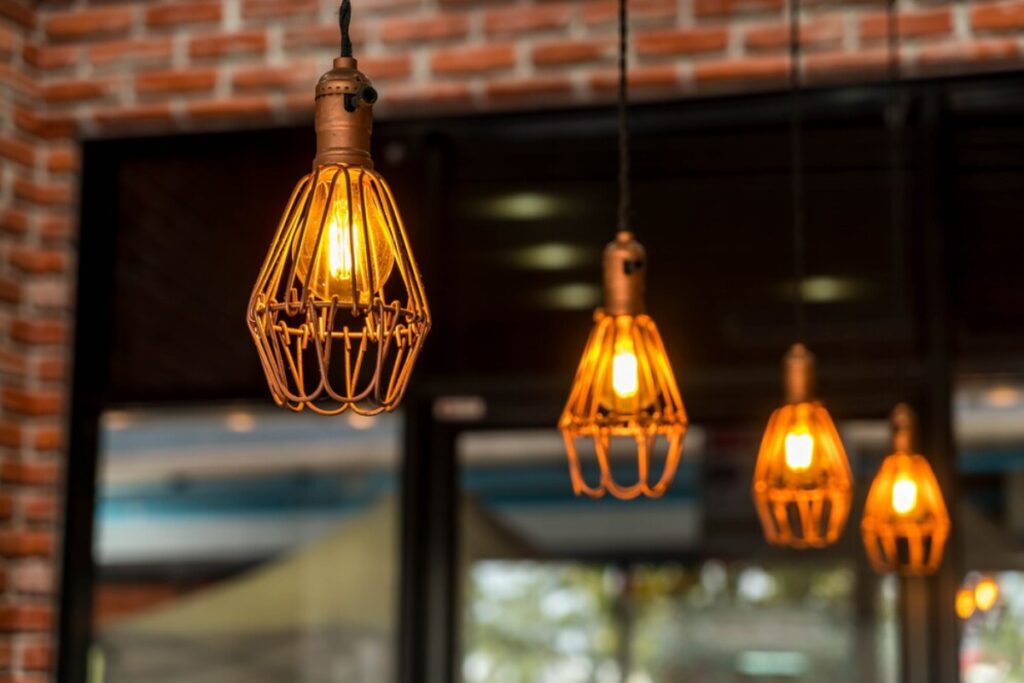
Maybe lighting doesn’t seem like an important part of a home, but it is essential. It is a necessary aspect of design. A statement pendant light can set the tone for a room and serve as a distinctive focal point. But a high-end light can be expensive. That’s what makes DIY pendant lighting an excellent choice. Making your fixtures is inexpensive and lends a personal touch to your interiors.
Whether you’re decorating flats, workshopping ideas on updating your kitchen, or making homemade light fixtures, this blog provides inspiration, advice, and creative ideas. From rustic to minimalist styles, we’ll explore various materials and techniques to light up your space while reflecting your personality—and keeping costs low.
Why DIY Pendant Lighting Makes Sense
Cost-Effective Customisation
Store-bought pendant lights can cost hundreds of pounds. Crafting your own saves money while achieving a high-end look. Many DIY projects can be done for under £30 with readily available materials.
Unleash Your Creativity
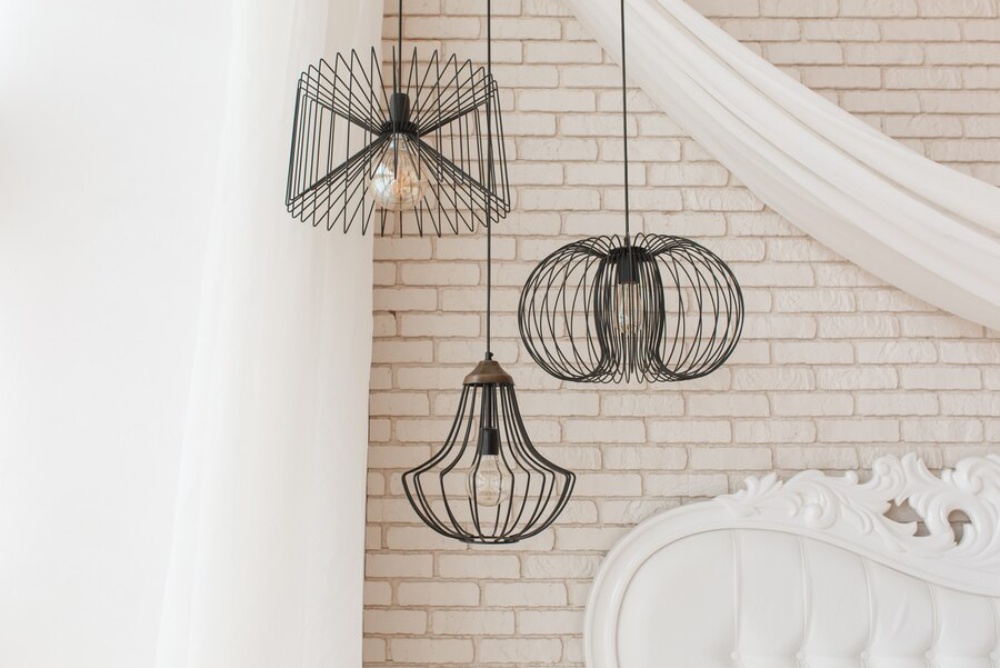
DIY gives you complete freedom. Mix materials, play with colours, and try new styles. Whether you want a boho basket light or a sleek Scandinavian globe, the design possibilities are endless.
Eco-Friendly Design
Repurposing items like colanders, jars, and pipes reduces waste and breathes new life into old things. This approach is appealing to those aiming for a sustainable lifestyle.
Planning Your DIY Lighting Project
Safety First
Before starting, understand electrical safety basics. If you’re unsure about wiring, consult a qualified electrician. DIY is fun, but safety is a priority.
Tools & Supplies Checklist
You may need:
- Pendant light kit (cord, bulb holder, ceiling cap)
- LED bulb (energy-efficient and heat-safe)
- Drill and bits
- Screwdriver
- Wire stripper
- Heat-resistant gloves
- Clamps, hooks, or mounting brackets
- Upcycled items (e.g., basket, jar, bowl, cage)
Tip: Many hardware stores or online retailers offer affordable pendant light kits with everything you need.
Match the Style to the Space
Different rooms need different lighting.
Consider these tips:
- Kitchen islands benefit from bright, focused task lighting.
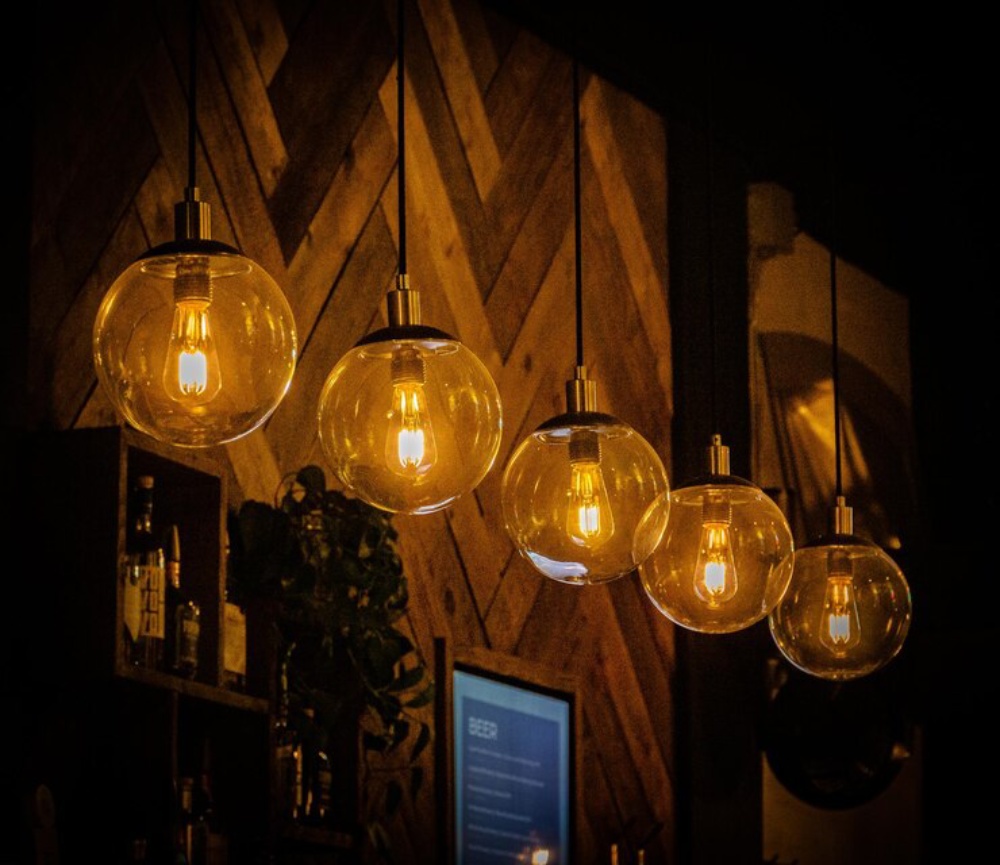
- Dining areas shine with statement pieces.
- Bedrooms often prefer softer, ambient lighting.
- Hallways and entryways need warm, inviting light.
DIY Pendant Light Ideas: Styles and Instructions
1. Mason Jar Pendant Light
Perfect for Rustic or farmhouse interiors.
Materials Needed:
- Clear mason jar
- Pendant light kit
- LED bulb Instructions:
- Drill a hole in the jar lid for the bulb holder.
- Attach the light cord and secure it with the nut.
- Screw on the lid and insert the bulb.
- Hang from the ceiling with an anchor or bracket.
Pro Tip: Using glass spray or film, frost the jar for a diffused glow.
2. Rattan or Basket Light Fixture
Perfect for Bohemian or natural decor. Materials Needed:
- Woven basket (open bottom)
- Pendant kit
- Scissors or wire cutters Instructions:
- Cut a small hole at the base of the basket.
- Thread the light kit cord through and secure the bulb holder.
- Adjust the hanging length to suit your ceiling height.
Style Tip: Group multiple small baskets for a clustered chandelier effect.
3. Industrial Pipe Pendant
Perfect for: Urban, loft-style spaces.
Materials Needed:
- Galvanised pipe fittings
- Pendant kit with exposed bulb
- Chain or steel cable Instructions:
- Assemble pipes into a frame or drop design.
- Thread the cord through the pipe system.
- Attach bulb socket and install ceiling mount.
Variation: Add a dimmer switch for mood lighting.
4. Concrete Pendant Lamp
Perfect for Minimalist or modern homes.
Materials Needed:
- Small plastic bottle (as mould)
- Quick-set concrete
- Pendant kit
- Sandpaper Instructions:
- Mix and pour concrete into the mould with the socket base at the top.
- Let dry for 24 hours.
- Remove the mould and sand rough edges.
- Attach the bulb and hang it.
Note: Ensure the cord and socket are heat-safe and rated for weight.
5. Upcycled Colander or Metal Bowl Light
Perfect for Vintage or eclectic interiors. Materials Needed:
- Metal colander or bowl
- Pendant light kit
- Drill (for hole if not pre-existing) Instructions:
- Drill a centre hole if needed.
- Thread the cord through and attach the bulb socket.
- Suspend from a hook or bracket.
Creative Tip: Spray paint your fixture in gold, copper, or matte black for a trendy upgrade.
Lighting Placement: Getting It Right
Height Guidelines
- Over kitchen islands: Hang lights 75–90 cm above the surface.
- Dining tables: About 80 cm is typical.
- Bedrooms and lounges: Higher placement for ambient lighting.
Use an adjustable cord if unsure—it’s better to tweak height than commit too soon.
Consider the Bulb
Not all bulbs are the same. Choose:
- Warm white for cosy spaces.
- Cool white or daylight for work areas.
- Edison-style filament bulbs for a vintage look.
Smart Lighting Options
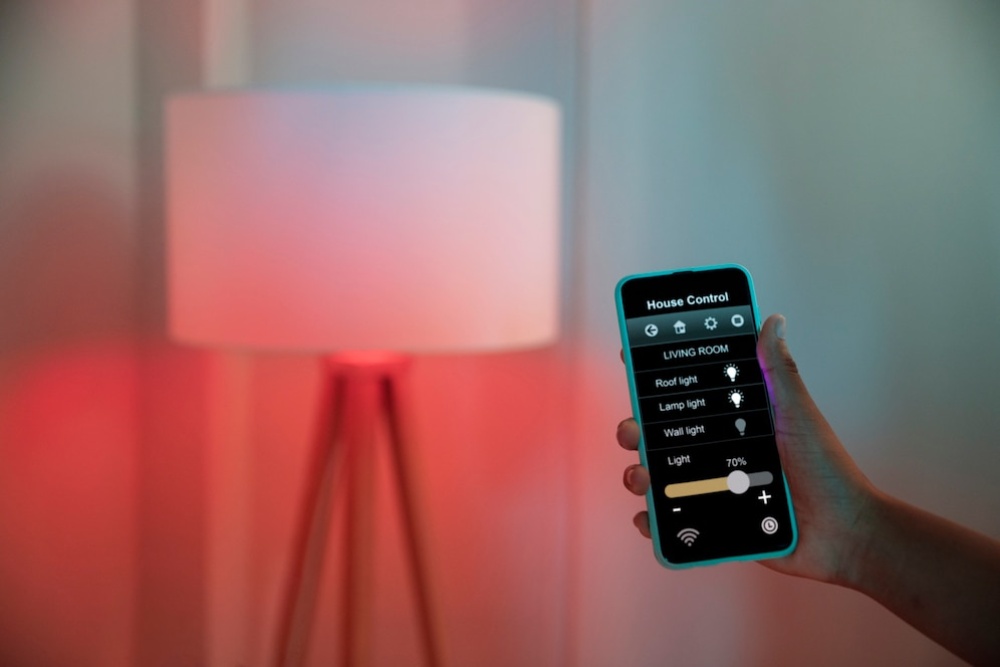
Many DIYers use smart LED bulbs with app or voice control. These bulbs allow dimming, colour temperature shifts, and preset scenes, ideal for flexible lighting.
Case Studies & Real-Life Inspiration
Case Study 1: The London Flat Makeover
Amelia, a design student in East London, transformed her kitchen with three DIY mason jar pendants. Using recycled jars and spending under £50, she achieved a rustic feel in a bland flat.
“It took a weekend, but it made such a difference. Everyone asks where I got the lights!”
Case Study 2: Industrial Chic in Manchester
James, a freelance photographer, made an industrial fixture above his dining table with salvaged pipes and Edison bulbs. With an electrician’s help, his total cost was under £100—less than half the price of designer fixtures.
Case Study 3: A Boho Bedroom in Brighton
Ella combined three small rattan baskets from a charity shop to create a cluster pendant. She added warm-toned LED bulbs above her bedside table. The effect? A serene focal point that cost just £25.
Common Questions About DIY Pendant Lighting
Is it safe to make your light fixture?
Yes, as long as you follow safety rules. Use certified light kits and avoid overloading sockets. If unsure, consult a professional.
Can I use a plug instead of hardwiring?
Absolutely. Many DIYers choose pendant kits that plug into the wall. This is especially renter-friendly and perfect for temporary setups.
What if I don’t have power tools?
Some projects, like basket or mason jar pendants, need minimal tools. You can also use adhesive hooks instead of drilling.
How long does a typical project take?
- Simple pendant (e.g., jar or basket): 1–2 hours
- Complex build (e.g., concrete or pipe): 3–6 hours
- Allow extra time for drying or setting.
Final Styling Tips for Maximum Impact
- Group pendants in odd numbers for dynamic arrangements.
- Use dimmer switches to shift from bright task lighting to a soft evening glow.
- Mix and match textures—metal with rattan, glass with concrete—for interest.
- Layer lighting by combining pendants with wall sconces or table lamps.
Bonus Tip: Match cords or fixtures to your room’s existing metal finishes (brass, matte black, chrome) for a cohesive look.
Light Up Your Life—Your Way
DIY pendant lighting DIY: work with passion, save money, express yourself and add the vibe of your home. There’s a design, experienced or novice.
Decorative concrete, industrial pipe—or even just using jars, baskets, and bowls from everyday life—can go a long way toward achieving stunning results without heavy-duty budgeting. And with the satisfaction of creating it yourself, your home will be aglow with light and personality.
What are you waiting for? Pick a project, get your tools out, and make your space glow. When you’re done, share your creations—we’d love to see your homemade light fixtures come to life.
Feeling inspired? Start your DIY lighting journey today and brighten your home with creativity and style.


YOU MAY LIKE