The Interior Design Blog
How to Add New Hardware for a Quick Furniture Facelift
When your furniture starts to feel tired or outdated, it’s easy to assume you need a total overhaul—or a trip to the nearest home store. But sometimes, all it takes is one small change to make a big visual impact. A simple furniture hardware update can breathe new life into cabinets, dressers, nightstands, and sideboards without the cost or mess of major DIY.
By swapping in stylish DIY knobs and pulls, you can give your furniture a contemporary refresh, match your evolving decor, or personalise pieces with a unique twist. In this guide, we’ll walk through everything you need to know to complete a cabinet handle makeover and elevate your space in the afternoon.
Why Update Your Furniture Hardware?
It might seem like a small detail, but hardware plays a huge role in a piece’s overall look and feel. The right knobs or handles can:
- Modernise outdated furniture
- Add contrast or cohesion to a room
- Reflect your personality or design style
- Improve function (especially with larger or easier-to-grip options)
Plus, it’s one of the most accessible and affordable upgrades for renters, first-time decorators, or anyone wanting a quick change with maximum payoff.
Best Types of Furniture for a Hardware Refresh
You can add new hardware to nearly any piece of furniture that has existing handles or the potential for them. Ideal candidates include:
- Kitchen and bathroom cabinets
- Dressers and nightstands
- Sideboards or buffets
- Wardrobes and armoires
- Media consoles
- Desk drawers
Wooden or MDF furniture is easiest to work with, but many modern composite materials also support hardware installation.
Choosing the Right Hardware Style
Not all knobs and pulls are created equal. Before committing, consider the following:
1. Design Style
Match your new hardware to your room’s overall aesthetic. For example:
- Modern/Minimalist: Sleek black bars or brushed nickel
- Vintage or Cottagecore: Ceramic knobs, floral patterns, brass finishes
- Industrial: Matte black or raw metal pulls
- Bohemian: Hand-painted knobs, carved wood, or mixed materials
2. Material & Finish
Common options include:
- Metal (brass, chrome, bronze, nickel)
- Ceramic or glass
- Leather pulls
- Wood or stone
A mix of materials can add texture but keep the finish consistent throughout the piece for visual harmony.
3. Functionality
Pulls are typically easier for high-use furniture, while knobs can be more decorative. Consider the shape and grip—especially if the piece is used daily.
DIY Knobs and Pulls: Where to Shop
There are plenty of sources for creative and affordable hardware, whether you’re after classic pieces or artisan styles:
- Home improvement stores: A practical option for basics and bulk orders
- Etsy or small makers: Great for handmade, custom, or one-of-a-kind designs
- Online retailers: Sites like Anthropologie, CB2, and Zara Home often have stylish options
- Salvage shops or antique markets: Ideal for vintage or upcycled pieces
If you’re updating a full set (like a dresser), always buy one extra in case of damage or discontinuation.
Measuring for a Cabinet Handle Makeover
Getting your measurements right is essential—especially if you’re switching from handles to knobs or changing the size of existing pulls.
For handles (pulls):
- Measure the centre-to-centre distance between screw holes (usually in mm or inches)
- Match your new handles to this measurement or be prepared to drill new holes and fill the old ones
For knobs:
- A single screw is usually sufficient
- Make sure the new knobs aren’t so wide they interfere with each other or the furniture’s surface
Use painter’s tape to map out new hardware placement before drilling.
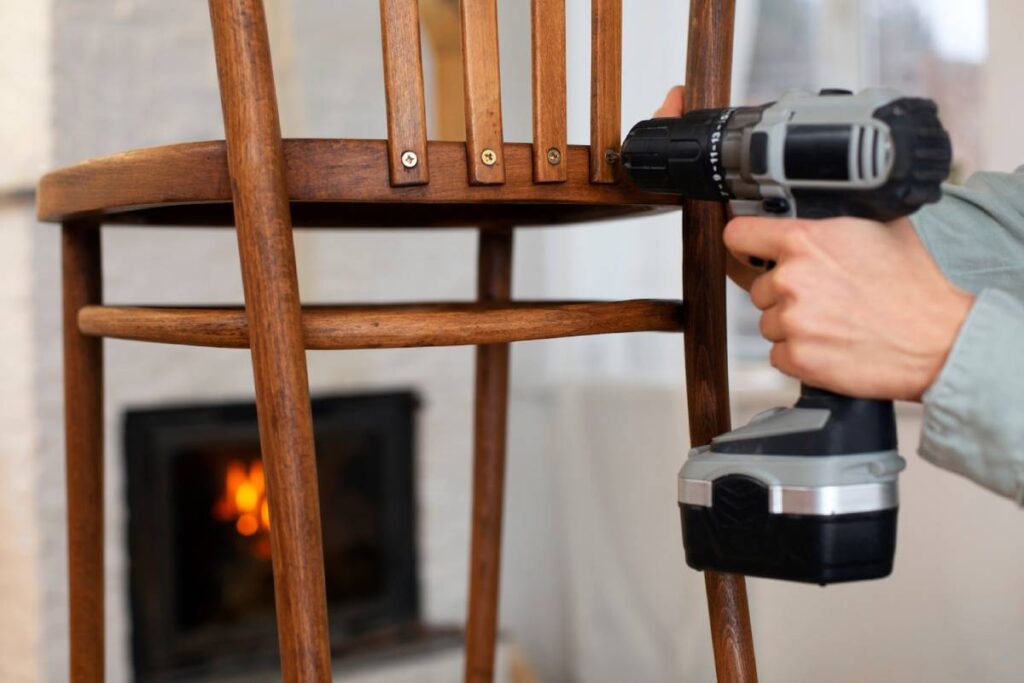
Tools You’ll Need
You don’t need a fully equipped workshop to pull off a successful furniture hardware update. Most projects can be done with a few simple tools:
- Tape measure or ruler
- Screwdriver (manual or drill)
- Pencil or chalk for marking holes
- Painter’s tape (for temporary guides)
- Drill with wood bit (if new holes are needed)
- Wood filler and paint/putty (optional for patching old holes)
Replace or Add New Hardware:
1: Remove Old Hardware
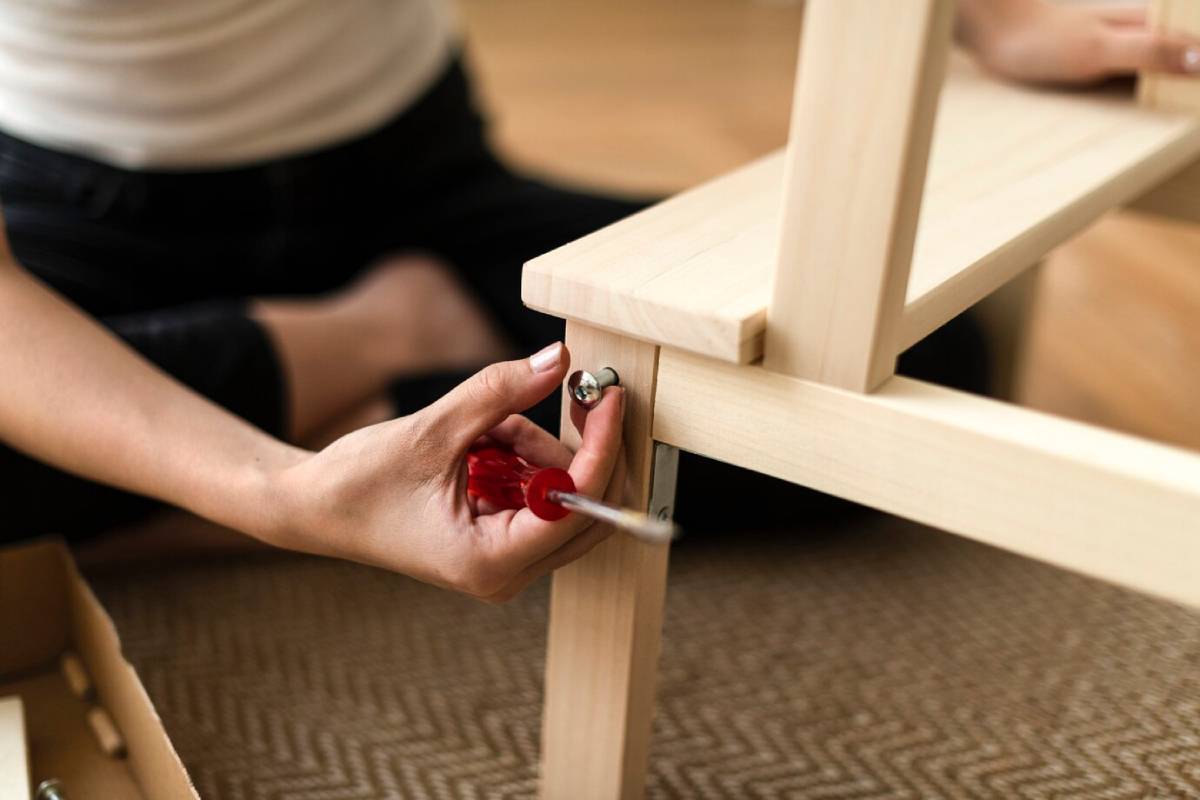
Use a screwdriver to remove existing knobs or handles. Store screws and old hardware in a labelled bag in case you need them later.
2: Clean the Surface
Wipe down the surface with a gentle cleaner to remove dirt, residue, or wax. This ensures a smooth finish for your new hardware.
3: Mark New Hole Positions (if needed)
Use a ruler or template to mark hole placement. For new pulls, double-check the centre-to-centre distance before drilling.
4: Drill New Holes
If your hardware requires new holes, use a drill bit slightly smaller than your screws to create clean openings. Drill slowly and evenly to avoid splintering.
5: Install New Hardware
Insert screws through the back of the drawer or door and tighten with a screwdriver. Don’t over-tighten, as it can crack the material or distort the hardware.
6: Patch Old Holes (Optional)
If the new hardware doesn’t align with the old holes, fill the unused ones with wood filler. Let dry, then sand and touch up with matching paint or stain.
Design Tips for Visual Cohesion
To ensure your cabinet handle makeover looks intentional, not random, keep these design pointers in mind:
- Match hardware within a piece, but you can vary styles between pieces in the same room
- Balance size and scale, oversized pulls can overwhelm small drawers, and tiny knobs can get lost on large cabinets
- Align finishes with existing metalwork in the room (e.g. light fixtures, tapware)
- Repeat a finish or shape elsewhere for consistency (e.g. brass handles + brass mirror frame)
Budgeting and Sustainability

The beauty of a DIY knobs and pulls project is that it’s budget-friendly and sustainable:
- Most knobs range from £2–£10 each, depending on quality
- Handles can range from £5–£20
- Updating hardware reduces the need to buy all-new furniture
- Replacing just the visible hardware is an easy upcycle method that extends a piece’s life
For eco-conscious decorators, this is a low-waste, high-impact way to refresh your home.
Before and After Inspiration
Not sure where to start? Here are a few classic upgrades:
- IKEA hacks: Swap basic handles on flat-pack furniture for leather pulls or brushed brass knobs from IKEA
- Vintage dresser: Pair distressed paintwork with ceramic or glass knobs for a cottage-core effect
- Plain kitchen cabinets: Add matte black bar pulls for an instant modern refresh
- Children’s furniture: Use fun animal-shaped or colourful knobs for a playful upgrade
These small changes can create stunning visual transformations without major investment.
Final Thoughts: Small Change, Big Impact
A furniture hardware update is one of the easiest ways to refresh your space—no paint, no sanding, no complex renovations. With a screwdriver, some thoughtful choices, and a dash of creativity, you can transform tired furniture into something that feels brand new.
Whether you’re working on a full home makeover or just want to personalise a thrifted find, swapping out DIY knobs and pulls is a practical, stylish, and satisfying way to give your furniture a second life.


YOU MAY LIKE