The Interior Design Blog
How to Install a Backsplash in Your Kitchen: A Comprehensive Guide
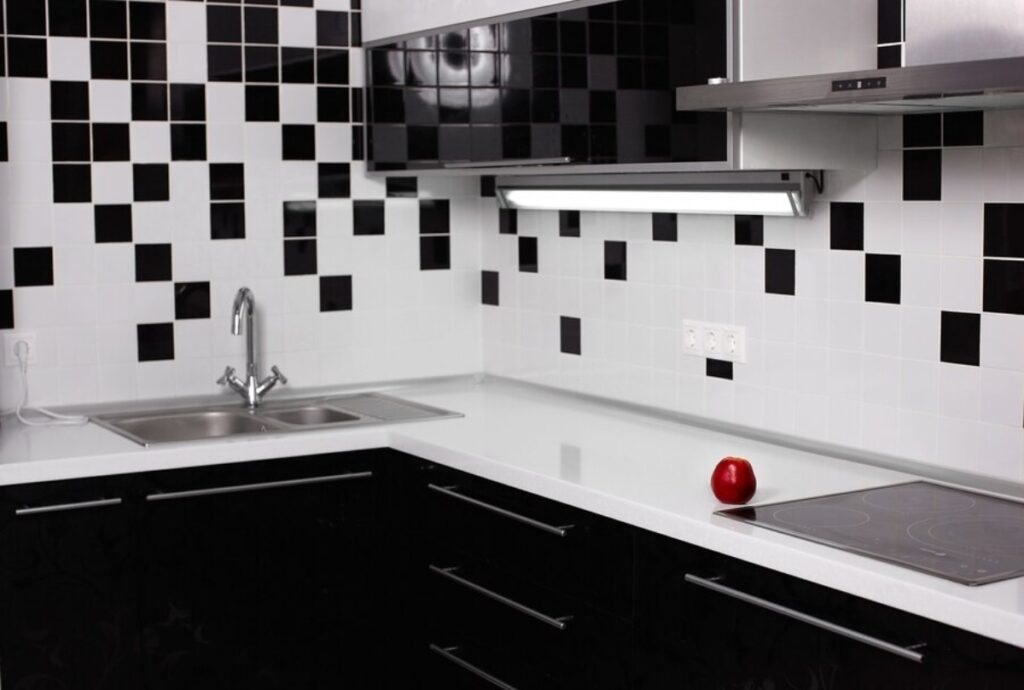
Changing the entire space, a backsplash in your kitchen brings function and style. This DIY project allows you to renovate your kitchen. You can get fantastic results without spending a fortune on professionals. This guide will explain how you can install a DIY kitchen backsplash. It’ll also leave you with a professional-quality finish.
Understanding the Core
A backsplash can help protect your walls from splashes and stains while cooking or cleaning. It is functional and beautifies the kitchen. You can put your own spin on the area. Choose from classic subway tiles, bright mosaics, or smooth glass panels. The options are limitless.
Why Install a Backsplash?
- Protection – Shields walls from water damage and stains.
- Aesthetic Appeal – Adds texture and colour, creating a focal point.
- Value Addition – Increases the market value of your home.
- Easy Maintenance – Simplifies cleaning, reducing long-term upkeep.
Pro Tip: Choose tiles complementing your kitchen’s colour scheme and style.
Checklist
Before diving into the detailed steps, here’s a quick reference checklist to ensure you have everything you need for your tiling a backsplash project:
Materials:

- Tiles of choice
- Tile adhesive
- Grout
- Tile spacers
- Sealant
Tools:
- Tape measure
- Spirit level
- Tile cutter or wet saw
- Notched trowel
- Grout float
- Sponge
Preparation:

- Clean the wall surface
- Measure the area
- Plan the tile layout
Quick Guide
Prepare the Surface
Start by cleaning the wall surface thoroughly. Remove grease, dust, or old wallpaper to ensure the adhesive bonds well. Use a mild detergent and water solution for cleaning, and let the wall dry completely.
Measure and Plan
Measure the area where you plan to install the backsplash. Use a tape measure to determine the width and height, then calculate the total square footage. This will help you estimate the number of tiles needed.
Important Tip: Always purchase an extra 10% of tiles to account for cuts and breakages.
Plan the Layout
Lay the tiles flat to determine the best pattern and fit. This step is crucial to avoid awkward cuts and ensure a balanced design.
Apply Tile Adhesive
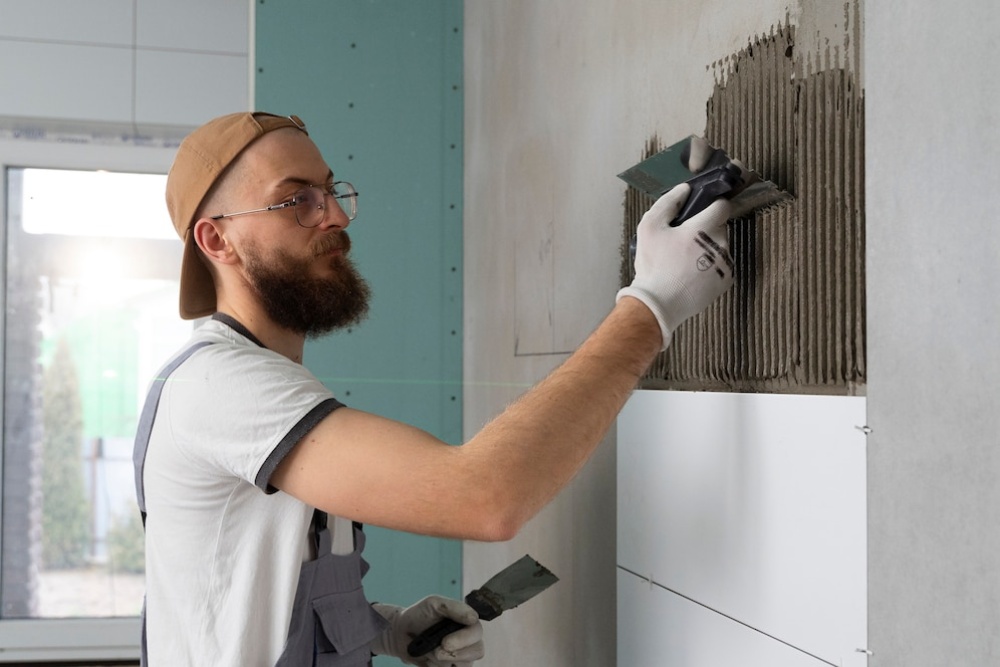
Use a notched trowel to spread tile adhesive on a small wall section. Start from the bottom centre and work your way outwards. Ensure the adhesive is applied evenly.
Place the Tiles
Begin placing the tiles according to your planned layout. Use tile spacers to maintain consistent gaps between tiles. Press each tile firmly into the adhesive.
Cutting Tiles
Use a tile cutter or wet saw to cut tiles to fit around edges, outlets, and corners. Always measure twice before cutting to avoid wastage.
Grouting
Once the adhesive has set (usually after 24 hours), remove the tile spacers and apply grout using a grout float. Work the grout into the spaces between tiles, then wipe away excess with a damp sponge.
Sealing
After the grout has cured, apply a sealant to protect against moisture and stains. This step is crucial for kitchens where spills occur every day.
Important Notes
- Adhesive Choice – Ensure the adhesive is suitable for the tiles you use.
- Spacer Size – The size of the spacer will determine the width of the grout lines. Smaller spacers (1/8 inch) create a more seamless look, while larger ones (1/4 inch) make the grout lines more pronounced.
Common Pitfalls
Avoid rushing the adhesive drying time, leading to tiles slipping or uneven surfaces.
Best Practices & Additional Insights
Test Layouts
Experiment with different tile layouts before finalising your design. This can prevent last-minute changes and ensure a cohesive look.
Lighting Considerations
Under-cabinet lighting can enhance the appearance of your backsplash, highlighting textures and colours.
Maintenance Tips
Regularly clean your backsplash with a mild cleaner to maintain its appearance and longevity.
FAQs
1. How long does a DIY backsplash installation take?
Depending on the size of the area and your experience level, it typically takes a weekend to complete.
2. Can I install a backsplash over existing tiles?
Yes, provided the existing tiles are in good condition and adequately adhered to the wall.
3. What is the best type of tile for a kitchen backsplash?
Ceramic and porcelain tiles are popular due to their durability and ease of maintenance, while glass tiles offer a modern look but require more care during installation.
Final Thoughts on Kitchen Tile Installation
A kitchen backsplash is a practical and stylish upgrade to your kitchen that can majorly improve the appeal of your home. This guide walks you through achieving a professional appearance that expresses your style. So, are you ready to redesign your kitchen? Get the materials and tools and begin your DIY kitchen backsplash installation now!
Sign up for our newsletter to receive home improvement tips and tutorials. You’ll also be updated on the latest trends and techniques! Happy tiling!


YOU MAY LIKE