The Interior Design Blog
Painting Techniques to Revamp Wooden Furniture
Repainting wooden furniture isn’t just a colour change—it’s a total mood change for a room. Whether you like a rustic feel, modern elegance, or a playful dash of colour, paint techniques can bring new life to the oldest items. In this guide, we’re exploring techniques, helpful tips, and design ideas for furniture painting. These will help you achieve a stunning DIY wood furniture transformation.
Why Paint Wooden Furniture?
Affordable Makeovers with Big Impact
Buying new furniture can be costly. Painting what you already own or revitalising a second-hand piece can save money while achieving a custom look. With some creativity and effort, a dated cabinet or scuffed chair can be turned into a bespoke design feature.
Creative Expression
Painting gives you the freedom to inject personality into your furniture. Whether bold with colours or leaning towards neutral tones, painting allows you to make a statement. Add stencilled motifs, geometric shapes, or layers of colour for texture—the possibilities are endless.
Sustainability and Upcycling
Rather than disposing of old furniture, repainting is an excellent way to extend its lifespan. Upcycling reduces waste and environmental impact, aligning your home decor with more sustainable living practices.
Preparing Your Furniture for Painting
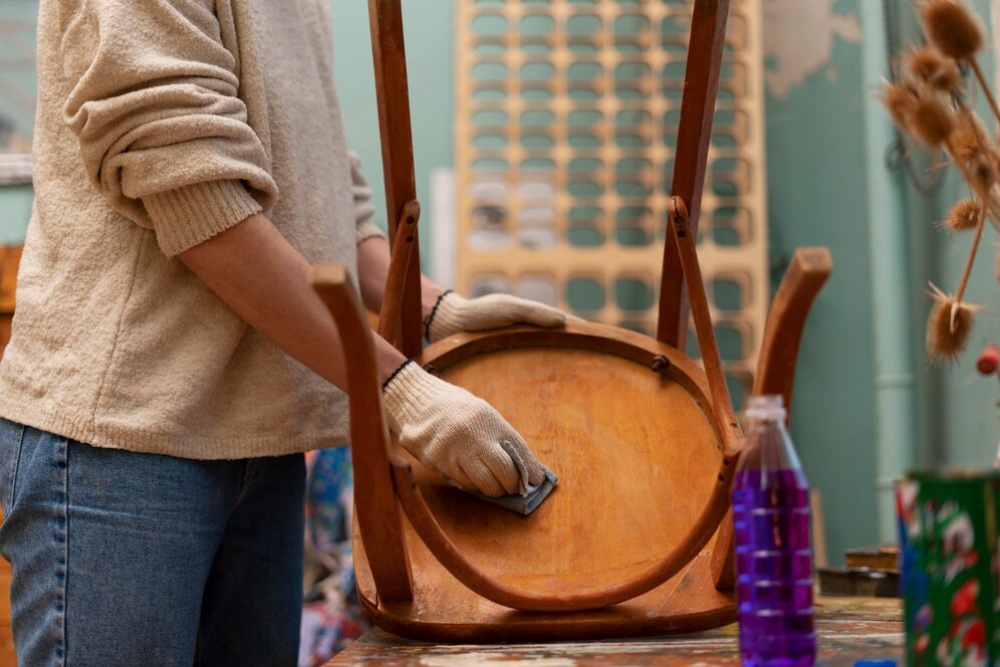
Cleaning and Inspecting
Start with a deep clean. Use mild soap and warm water to remove grime, oils, or polish residue. Pay attention to corners, handles, and crevices. Inspect the piece for damage—loose joints, deep scratches, or splinters—and perform basic repairs using wood filler, glue, or clamps.
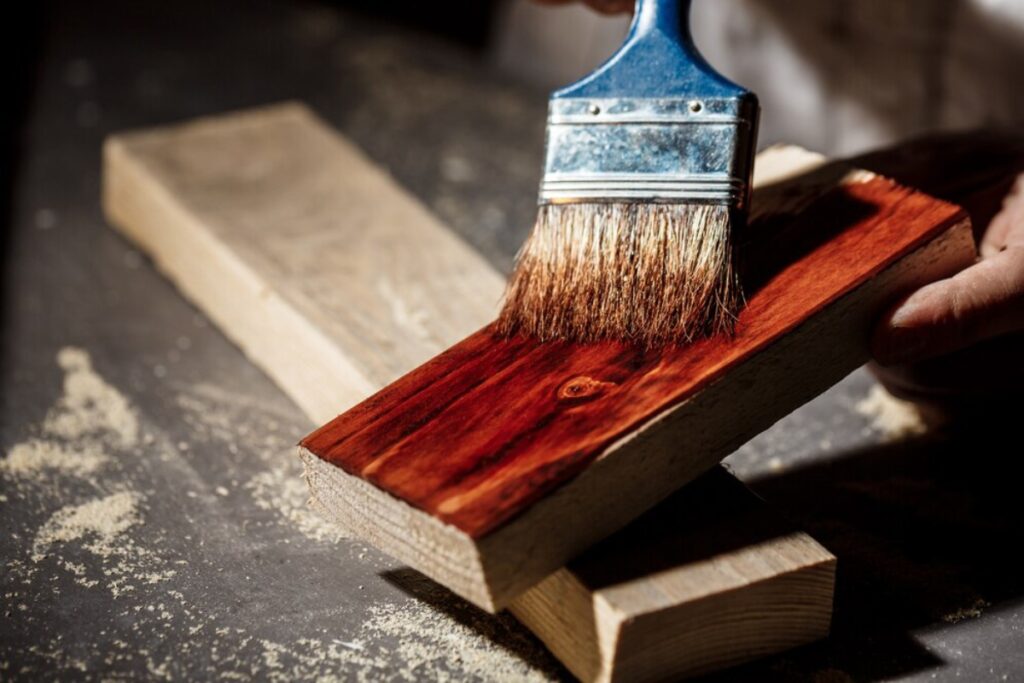
Sanding the Surface
Sanding is crucial to ensure that the paint adheres properly. Use medium-grit sandpaper (120–150 grit) for most surfaces and fine-grit (220 grit) for final smoothing. An orbital sander makes quick work of large areas, but for intricate sections, hand-sanding is best.
- Always sand with the grain of the wood.
- Remove dust thoroughly using a tack cloth or vacuum with a brush attachment.
Priming for Success
Priming creates a stable base for your paint and prevents stains from bleeding. A stain-blocking primer is ideal for most wood furniture. Priming may not be necessary if you’re using chalk paint or mineral paint, but it’s still recommended for durability.
Essential Tools and Materials
Before you start, gather the following:
- High-quality paintbrushes (angled for edges and flat for broad strokes)
- Foam rollers for smooth finishes
- Drop cloths to protect floors
- Painter’s tape for clean lines
- Sandpaper or sanding sponge (varied grits)
- Primer and paint suited for furniture
- Sealant (wax, polyurethane, or varnish)
- Clean rags, mixing sticks, and a dust mask
Having the right tools makes the process more efficient and helps achieve a professional result.
Popular Furniture Painting Techniques
Chalk Paint
Loved for its matte finish and minimal prep, chalk paint is ideal for rustic or shabby chic looks. It adheres well to most surfaces without priming and can be distressed easily for a vintage feel.
Tips:
- Use a natural bristle brush for a textured finish.
- Apply clear wax to seal and enhance durability.
- For extra protection, top with a coat of dark wax or varnish.
Milk Paint
Milk paint offers a soft, layered effect and works particularly well for antique or farmhouse-style furniture. It comes in powder form and is mixed with water.
Tips:
- Use a bonding agent to avoid chipping on non-porous surfaces.
- It is ideal for a naturally aged, time-worn look.
Spray Painting

Spray paint is unbeatable for a modern, even finish. It’s great for metal parts, chairs with spindles, or surfaces where brush strokes are unwelcome.
Tips:
- Always spray in a well-ventilated area or outdoors.
- Multiple light coats prevent drips and streaks.
Colour Washing
This technique adds a semi-transparent coat of colour, allowing wood grain to show through. It’s perfect for creating depth and a weathered effect.
Steps:
- Thin the paint with water.
- Apply with a brush or cloth.
- Wipe back to achieve the desired transparency.
Two-Tone Painting
Mix colours for contrast—paint the frame in one shade and the drawers in another. This works exceptionally well with mid-century and Scandinavian-inspired designs.
Design tip: Use neutral tones as a base and highlight accents with a bold hue like mustard, navy, or sage.
Styling Ideas to Inspire
Bold Colours for Statement Pieces
Don’t shy away from vibrant colours. Jewel tones like emerald green, sapphire blue, or deep burgundy can transform a simple chest of drawers into a standout centrepiece. Pair with gold hardware for an elegant touch.
Neutral and Minimalist
If you prefer subtlety, go for soft greys, whites, or beige. A matte finish adds sophistication and works beautifully in minimalist or Scandinavian interiors.
Ombre and Gradient Effects
Create visual interest with a gradient paint effect. Start with the lightest shade at the top and gradually darken it towards the bottom. This works wonderfully on tall furniture like bookshelves or wardrobes.
Playful Patterns and Stencils
Add stencilled shapes or motifs to drawer fronts or tabletops. Geometric patterns, florals, or tribal prints can lend a customised designer feel without breaking the bank.
Mistakes When Painting Furniture
Skipping Surface Prep
Even the best paint can’t adhere to a dirty or glossy surface. Take time to clean and sand.
Using the Wrong Paint Type
Wall paints are not suitable for furniture. Always use paint designed for wood or multi-surface applications.
Rushing the Drying Time
Allow adequate drying time between coats, especially if using primer or sealant. Rushing can cause bubbling or peeling.
Ignoring Topcoat
A protective topcoat preserves your finish and makes the furniture more durable, especially for high-use items.
Poor Ventilation
Always paint in a well-ventilated area or outdoors to avoid inhaling fumes and to help the paint dry properly.
Maintaining Your Painted Furniture
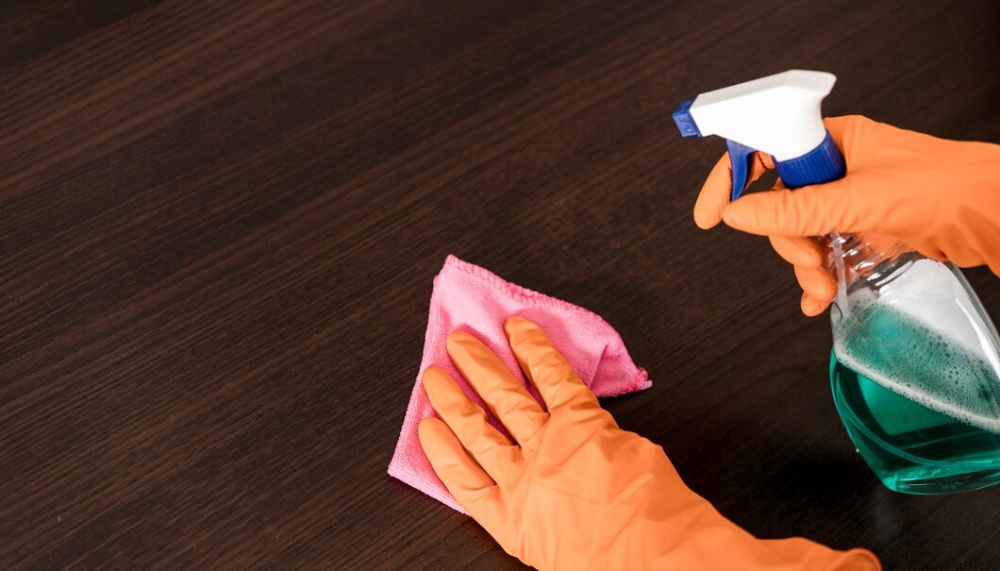
After all the effort, maintenance is key to long-term enjoyment. Here’s how:
- Avoid placing hot or wet items directly on the surface.
- Use coasters, mats, or tablecloths where needed.
- Clean gently with a damp cloth—no harsh chemicals.
- Touch up chips or scratches promptly.
Proper care can extend the life of your DIY wood furniture makeover for years.
Commonly Asked Questions
Can I paint over varnished furniture?
Yes, but you must sand and prime it first. This ensures the new paint adheres correctly.
What type of paint is best for furniture?
Chalk paint, acrylic latex, and enamel-based paints are all excellent options, depending on your desired finish and durability.
How long should I wait before using my furniture?
Allow 24–48 hours of drying and up to a week for complete curing. Don’t rush the process.
Is it okay to paint antique furniture?
Yes—but consider the piece’s value. Some antiques may lose value if painted. When in doubt, consult an expert.
Can I paint over the laminate?
Yes, but prep is essential. Sand lightly, clean thoroughly, and use a primer made explicitly for slick surfaces.
Bring Your Vision to Life
One of the most rewarding DIYs you can embark on is painting furniture. It’s inexpensive, filling, and a springboard for endless creativity. Repaint worn-out pieces with the proper techniques. This way, pieces you may forget to notice are shined up in your space.
Paint can make anything new, whether it’s an elbowed dresser, a basic bookshelf, or a hand-me-down dining set. It can also refresh the piece and brighten your room. Remember to prep thoroughly, choose your tools wisely, and take your time.
Now it’s your turn—grab that brush, pick a colour that inspires you, and start your transformation today.


YOU MAY LIKE